Modern systems have many ways to configure their behavior. Some use configuration files edited on the command line, and some use a graphical interface (and save the information to configuration files in the background), yet others use a database. Maintaining changes and auditing can sometimes be an issue, as it’s not always clear who made a change. Making bulk changes is not always possible, and rolling back changes a chore.
Rexpondo uses a comfortable graphical interface to configure the system. All changes to the default system configuration are stored in the database and can be audited (who changed a setting and when, what was the old and what is the new value) and rolled back to a previous state in case of misconfiguration.
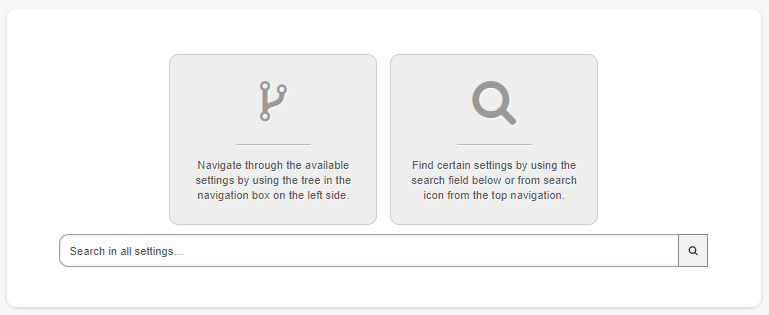
Comfortable search allows finding the needed settings quickly and easily.
See also
By using the System Configuration History package, you can easily roll back changes made by users. Contact sales@e-time.it to add this feature to your system. In one of the next Rexpondo releases this feature is included in the standard framework.
Use this screen to manage the system configuration settings. Rexpondo brings about 2200 configuration settings. The system configuration management screen is available in the System Configuration module of the Administration group.
For security reasons, the configuration settings for the database connection cannot be changed in the graphical user interface of the system configuration. These have to be set manually in Kernel/Config.pm.
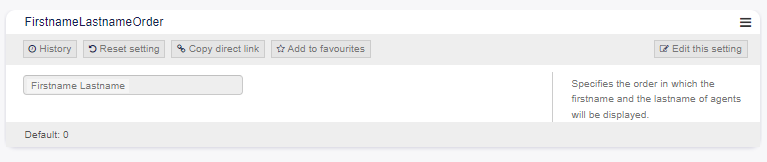
To modify a system configuration, you need to do several steps. The following example shows you, how to find, modify, deploy and reset the system configuration FirstnameLastnameOrder.
Find the system configuration by entering a search term lastname into to search box.
With the full-text search, all configuration settings can be scanned for one or more keywords. The full-text search not only searches through the names of the configuration settings, but also the descriptions and values. This allows an element to be found easily even if its name is unknown.
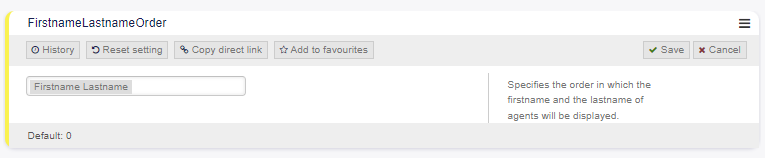
Click on the Edit this setting button to activate the edit mode. In edit mode the widget gets a yellow border on the left.
Note
If a setting is currently edited by an other administrator, it is not possible to get access to the edit mode for that setting until the other administrator finished his work.
Change the value of the setting. Editing can be cancelled by clicking the Cancel button on the right or hitting the Escape key on your keyboard. When editing is cancelled, all changes made during the current editing session are discarded.
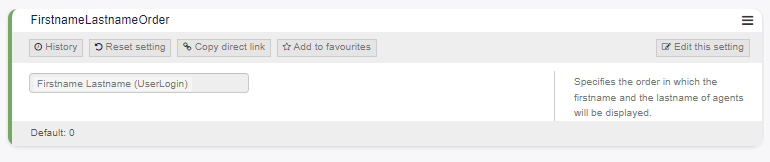
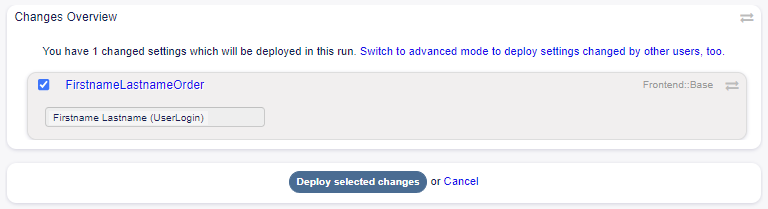
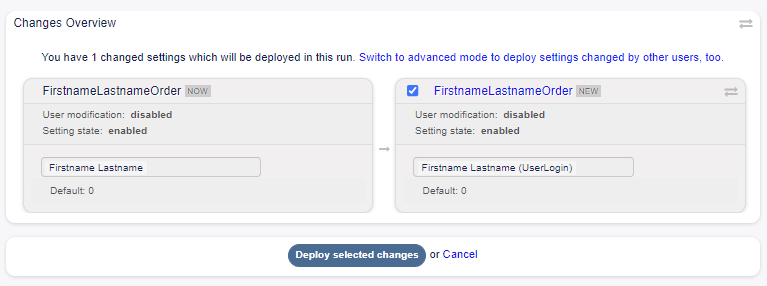
Go back and search again the term lastname to find the modified setting. The widget has a gray border on the left to indicate, this setting is modified.
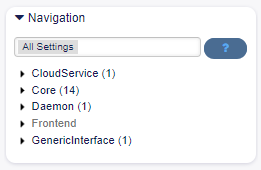
Each configuration setting is classified by a category and a navigation group. Navigation groups are individual elements in the main navigation tree. By selecting one of these navigation entries, all settings assigned to the selected group will be shown. As long as no extensions are installed, the category selection is automatically hidden, but as soon as a package is installed which brings its own configuration settings (such as ITSM modules or Survey), the category selection will be revealed. Selecting a category makes the main navigation tree show only the navigation groups belonging to the selected category.
To expand an element, click on the arrow next to it. The number between the parentheses indicates how many settings belongs to this element. If an element has no number, this element is only a wrapper category. It doesn’t have settings, it has only sub-categories.
Using the navigation tree results the same as search for a setting. If you would like to see for a setting to which group belongs to, expand it by clicking on the header of the widget.